

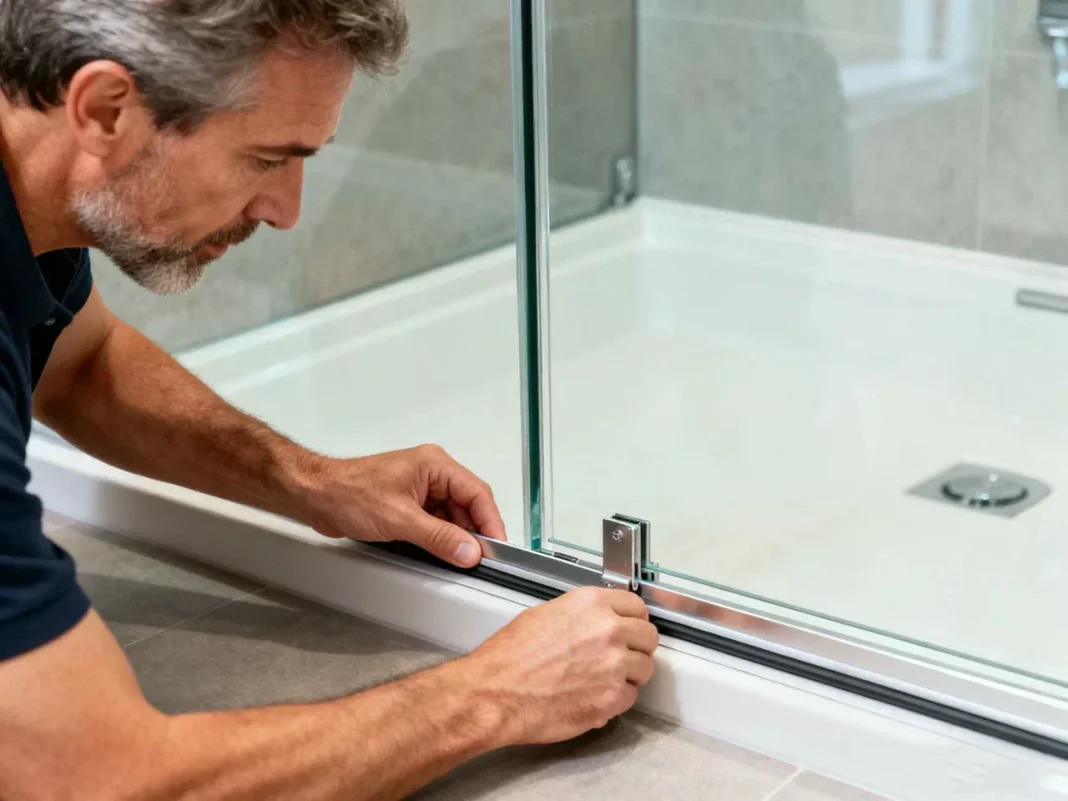
Shower seals work quietly every day, but small gaps can allow repeated moisture exposure around corners, doors, fixtures, and wall transitions. Shower seal maintenance means checking caulk, grout joints, door seals, and penetrations before water has enough time to reach materials behind the finished surface.
Identify the Joints Most Likely to Fail
Movement occurs where walls meet tubs, shower pans, glass frames, and adjoining surfaces. These transitions are especially important because rigid grout may crack where two planes move independently.
Flexible bathroom sealant is commonly used at movement joints. Inspect it for separation, shrinking, discoloration, tearing, or small channels where water can pass through.
Looking through broader home care guidance can also reinforce the value of inspecting wet areas on a routine basis instead of relying on visible leaks as the first warning.
Watch How Water Behaves During a Shower
Some seal failures become easier to spot while the shower is operating. Check whether water collects against door tracks, escapes around glass panels, or repeatedly runs toward a corner where the caulk has pulled away.
Afterward, look at the walls outside the enclosure. Damp baseboards, peeling paint, swollen trim, or staining near the shower can indicate that water is leaving the intended wet area.
Test Door Seals and Sweeps
Door sweeps should direct water back toward the shower rather than onto the bathroom floor. Brittle, distorted, or incorrectly positioned seals may leave gaps even when the door itself closes normally.
Readers who follow household design and upkeep topics can apply the same inspection mindset to other water-exposed rooms.
| Area to Check | Typical Problem | Maintenance Move |
|---|---|---|
| Inside corners | Split caulk | Remove and reseal |
| Glass door edge | Worn sweep | Replace if distorted |
| Fixture penetration | Loose sealant | Inspect and reseal |
| Exterior wall edge | Swelling or staining | Trace moisture source |
Replace Failed Caulk Instead of Layering Over It
New sealant bonds best to a clean, dry, properly prepared surface. Applying a fresh bead directly over loose, contaminated, or mold-stained material can leave the original weak layer underneath.
Remove failed sealant carefully, clean away residue, and allow the joint to dry fully before resealing. Use a product intended for the shower material and wet-location application.
For wider renovation planning, interior improvement ideas can be useful context, but the basic repair still depends on sound preparation rather than cosmetic coverage.
Don’t Assume Grout Is the Only Water Barrier
Many tiled shower assemblies rely on waterproofing behind the tile surface. Grout helps fill joints and protect edges, but cracked grout alone doesn’t explain every moisture problem.
Check Fixtures and Plumbing Connections Too
Water behind a wall may originate from plumbing rather than the visible tile surface. Shower arms, valve trim, supply connections, and penetrations deserve attention if moisture appears even when splash exposure seems limited.
If staining continues after surface sealing has been repaired, further investigation may be needed instead of repeatedly adding caulk.
Where Seal Maintenance Often Goes Wrong
One mistake is sealing over damp material. Trapped moisture can slow drying and hide a problem without correcting the source.
Another is assuming every darkened joint needs more sealant. Soap residue, mildew, staining, deteriorated grout, failed caulk, and plumbing leaks require different responses. Identify what has actually failed before covering the area with a new bead.
Frequently Asked Questions
How can you tell if shower caulk is failing?
Look for cracks, peeling edges, gaps, shrinking, or sections that lift away from the adjoining surface. Repeated moisture outside the enclosure can also indicate a problem.
Can water get behind shower tile through damaged joints?
Water can enter damaged surface joints, although properly built showers also use waterproofing beneath the finish. Persistent dampness should be investigated rather than treated as a grout-only problem.
Should old shower caulk be removed before resealing?
Failed caulk should generally be removed so the replacement can bond to a clean, dry surface. Applying new material over loose sealant often produces a short-lived repair.
Keep Water Inside the Wet Zone
Shower maintenance works best when small failures are treated as early warnings. Inspect flexible joints, door seals, wall penetrations, and the areas just outside the enclosure. Replace failed materials properly rather than covering them, and investigate recurring dampness that returns after surface repairs. A few minutes of regular inspection can reveal the path water is taking before surrounding finishes begin to show serious damage.
